Category Archives: Photography
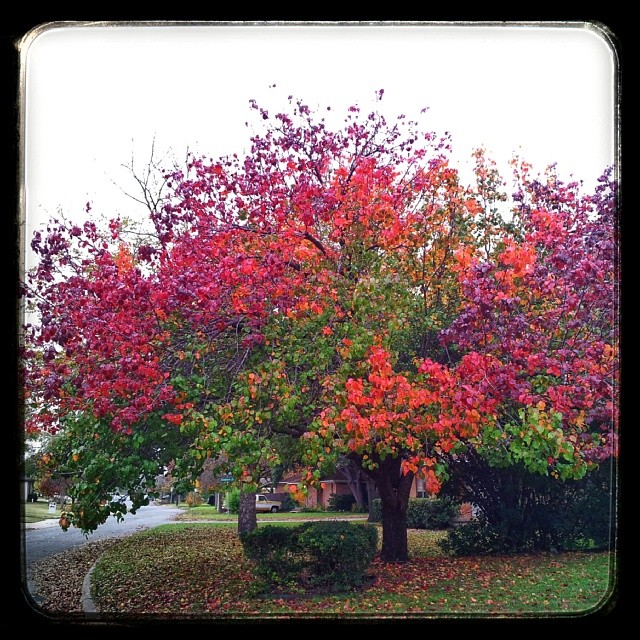
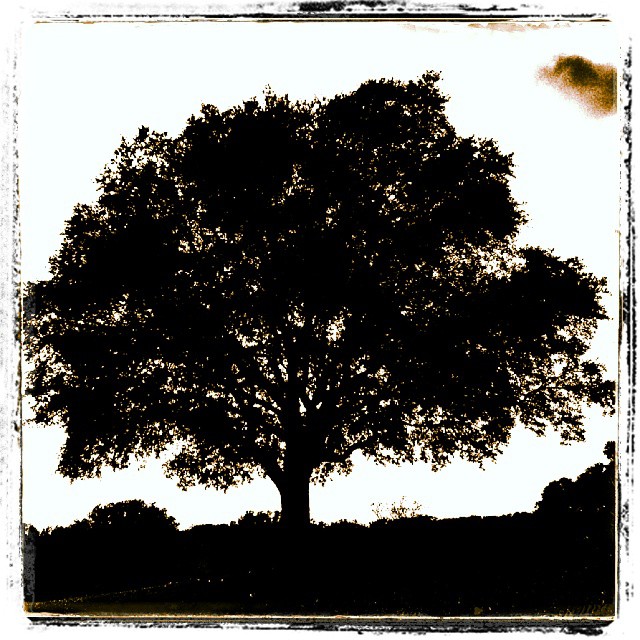
Fall came to my street. I asked him to stay.
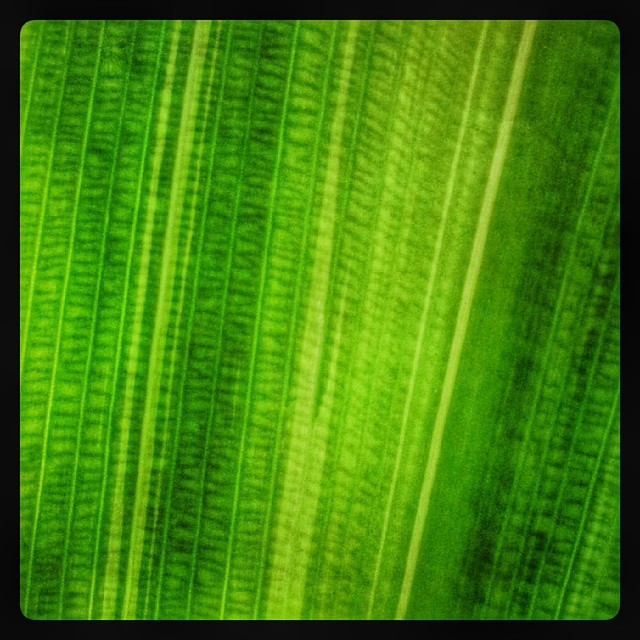
Bamboo Leaf
Backlit and enhanced to emphasize variegation
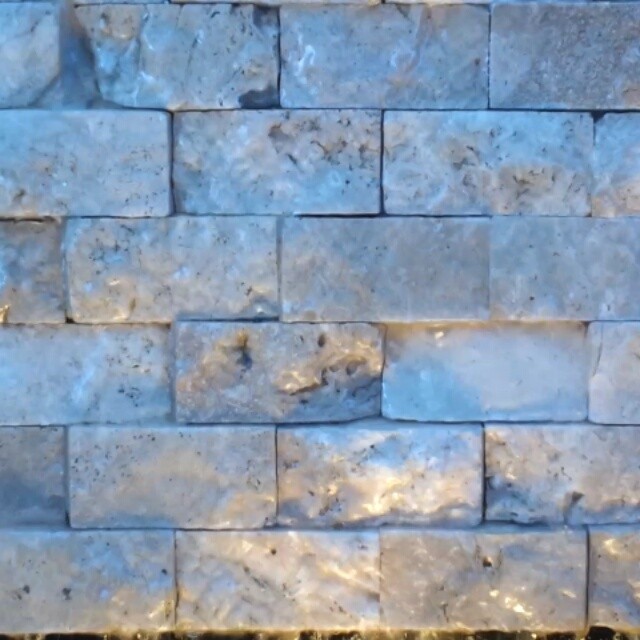
Close-up of fountain at Plaza of the Americas in Dallas
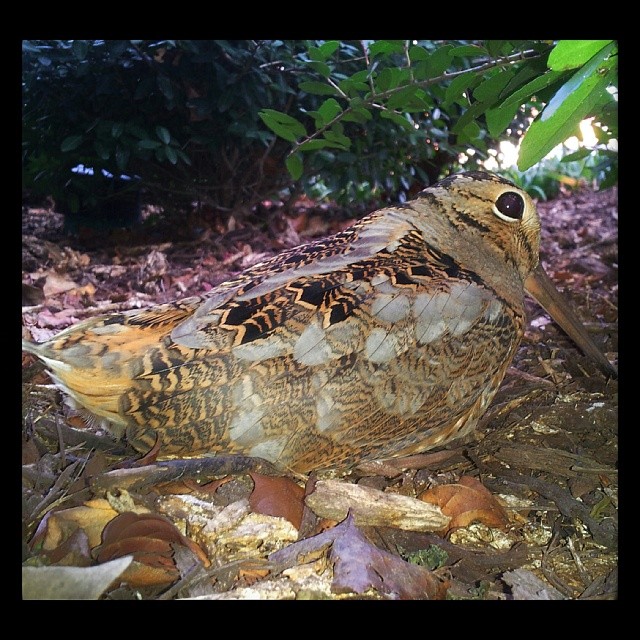
American Woodcock that my son Joshua spotted in the shrubs by a busy street in downtown Dallas
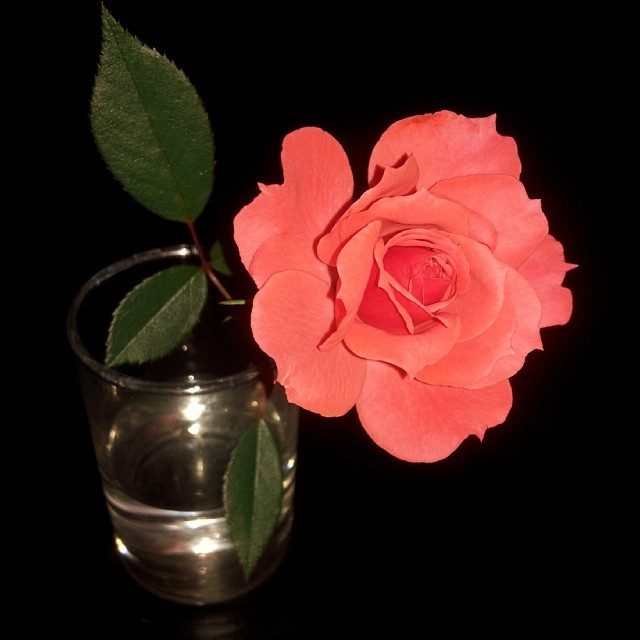
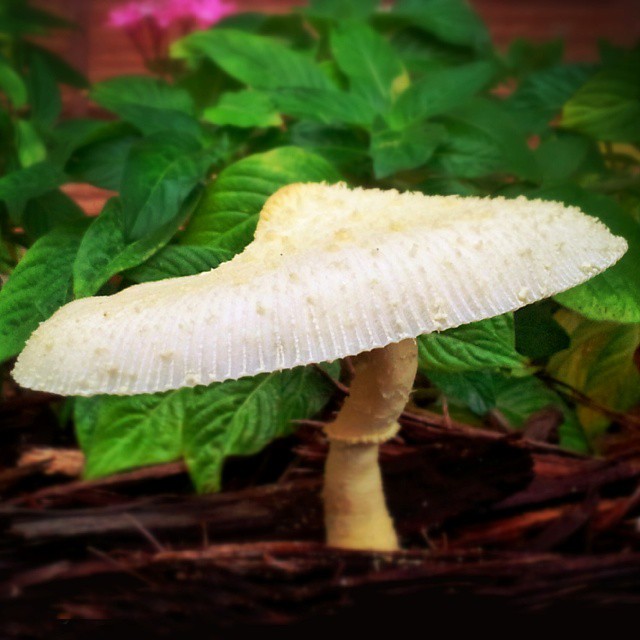
Humble backyard rose
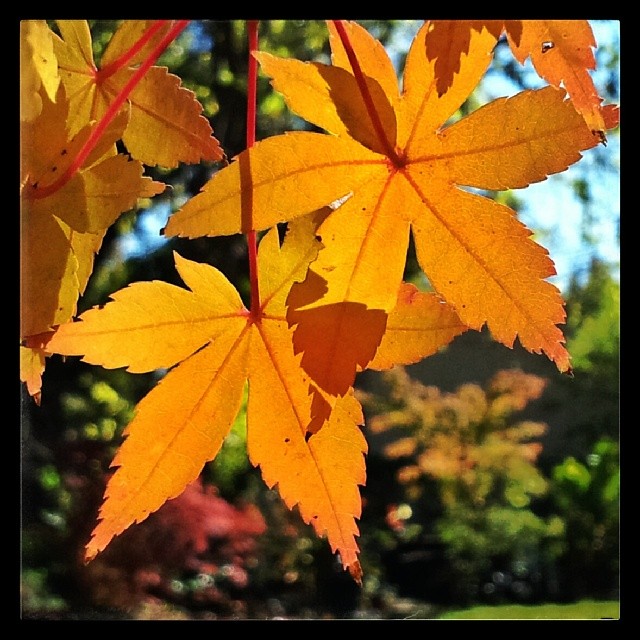
My neighbor’s Japanese Maple
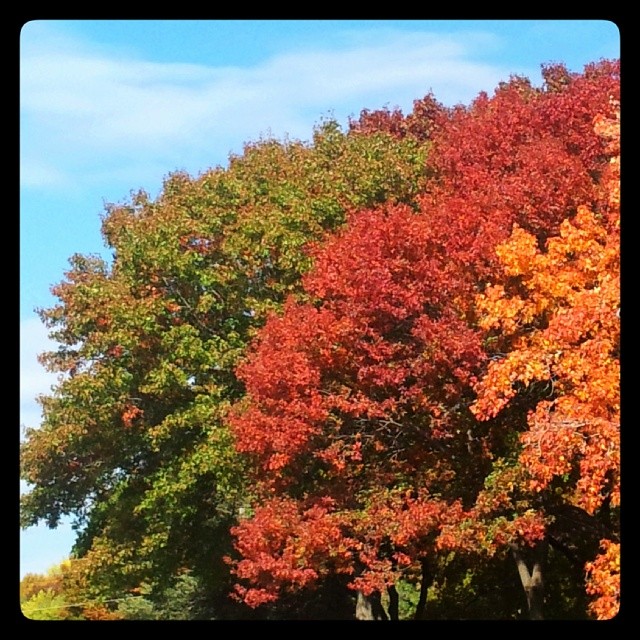
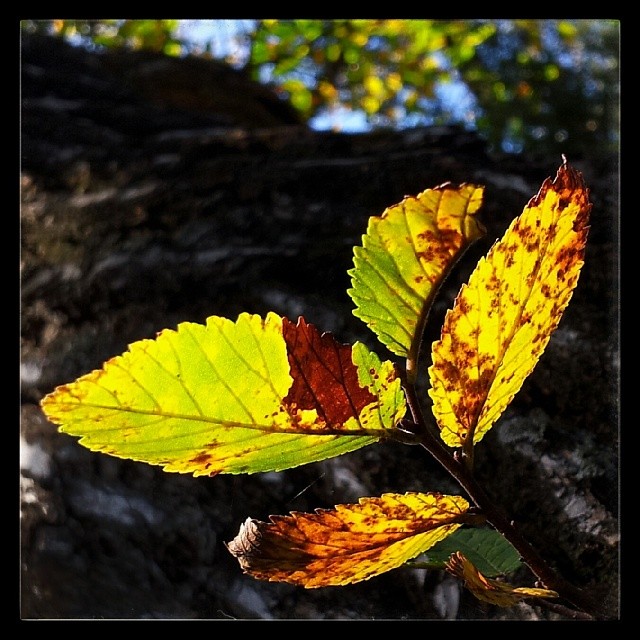
Autumn leaves at Cedar Hill State Park
At Flagpole Hill, heavily post-processed.
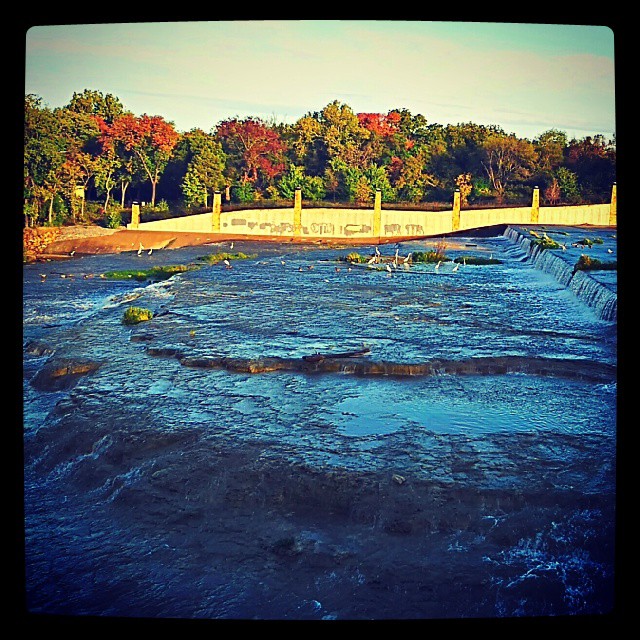
White Rock Lake spillway, early Autumn morning light
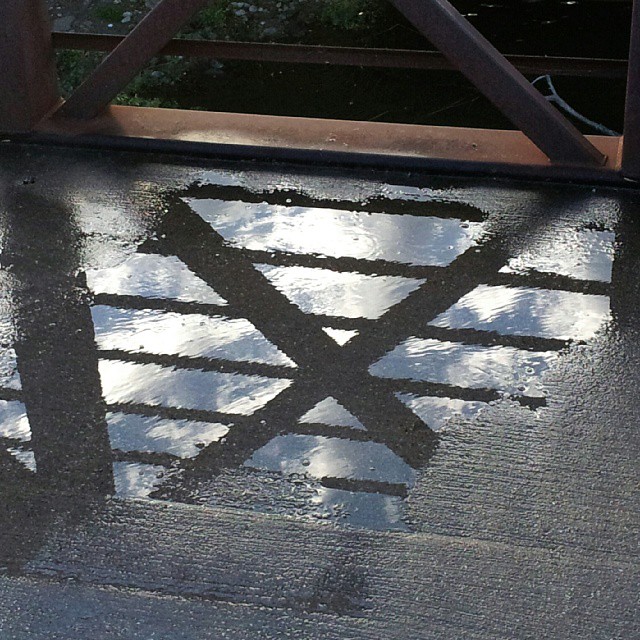
Morning on the spillway bridge, after rain.
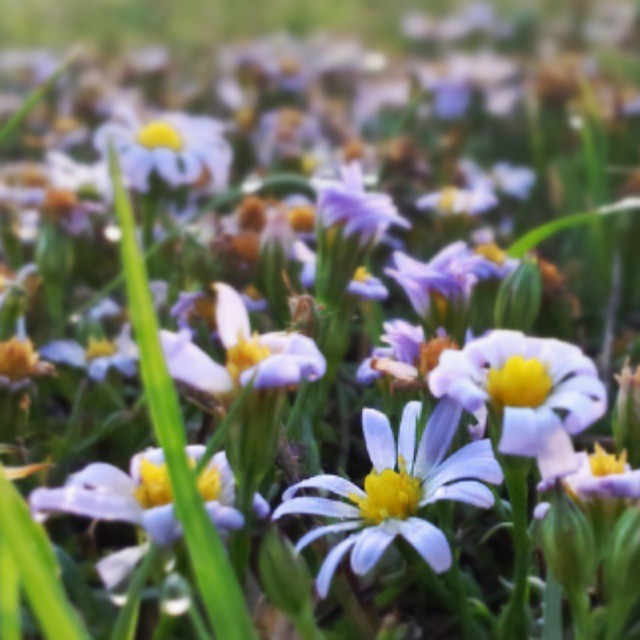
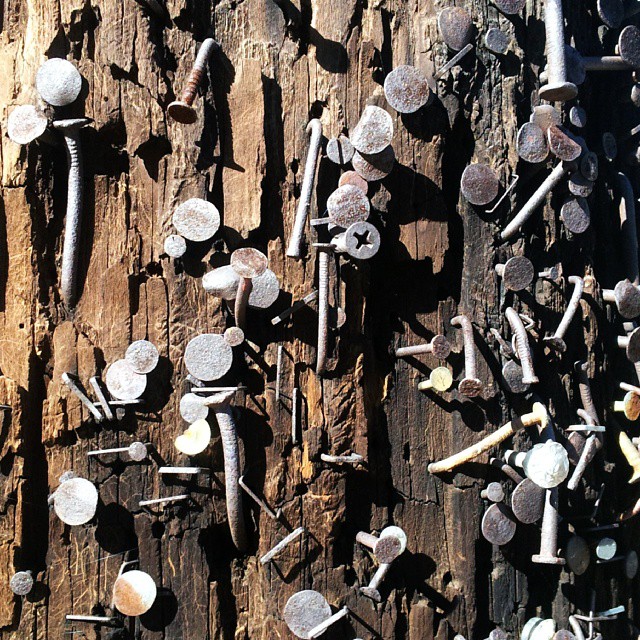
Weeds from the mouse’s point of view
Stay clear in case of lightning.
No time for tripod! Gotta run.
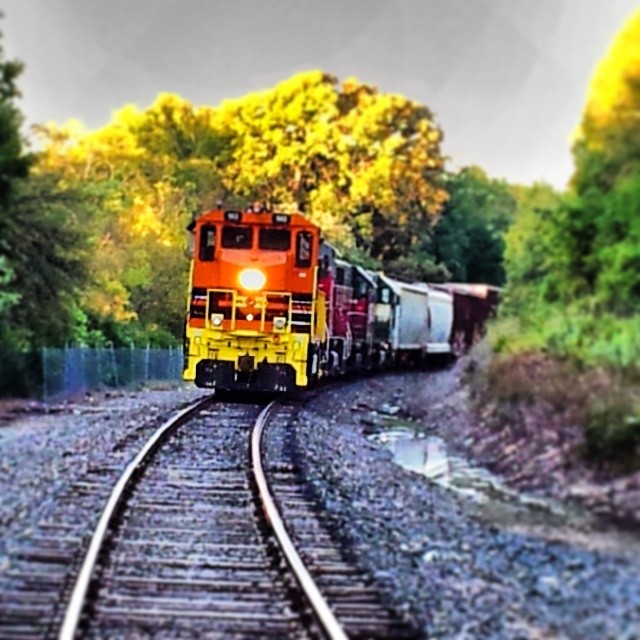
Don’t worry. The train was just sitting there, but I was in a hurry! Wish I had enhanced and posted a shot I captured with HDR Camera+ instead of this one. The sky in this shot was blown out. Adding weight with SnapSeed did not work out well–notice the banding in the vignette (I didn’t notice that initially on my phone)..
Instagram filter used: Normal
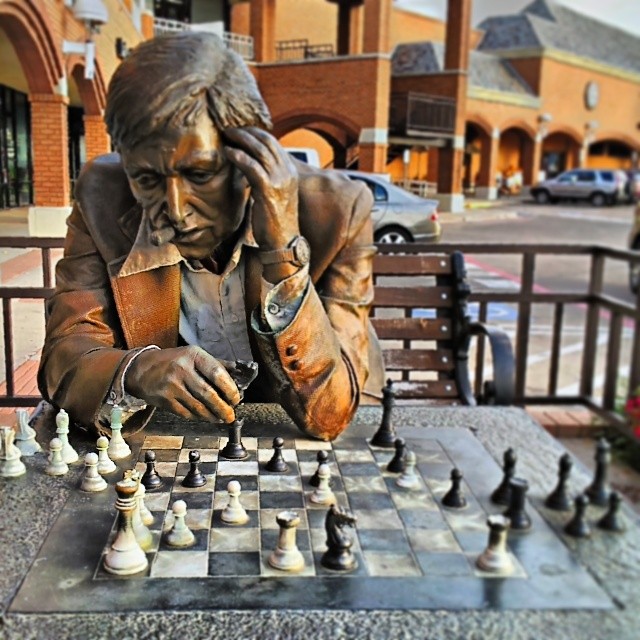
Chess player (statue) shot with HDR on Galaxy S2
Small waterfall at Dallas Arboretum
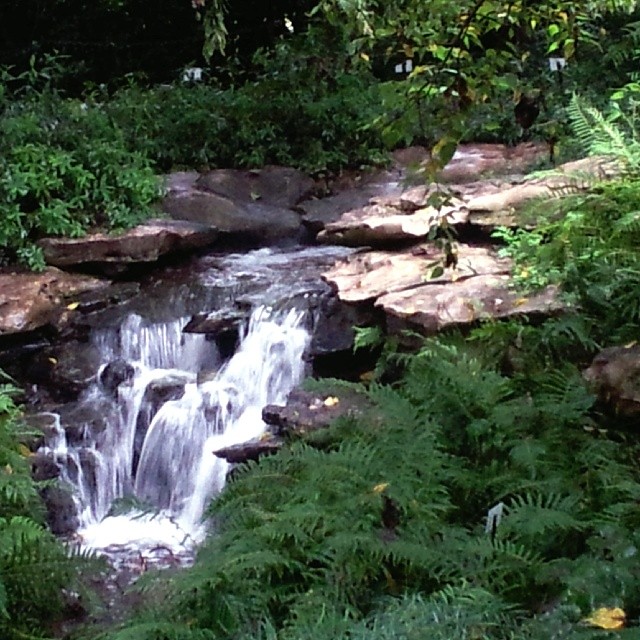
I’m not very happy with the sharpness of this one. It was shot in low light with my Samsung Galaxy S2. I was scoping out locations at the Arboretum where I could capture water flowing in a long exposure. Since I didn’t want to get thrown out of the gardens, I stayed on the path, putting me about 35 feet from the waterfall, so it’s is also zoomed in, which doesn’t help! I did some editing with Snapseed.
Instagram filter used: Normal
Early morning (low light). Shot on Galaxy S2; enhanced with Snapseed
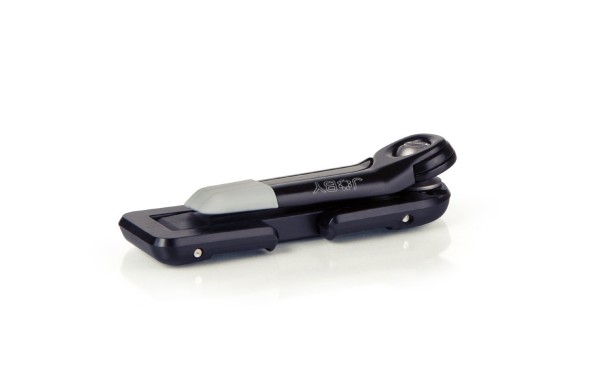
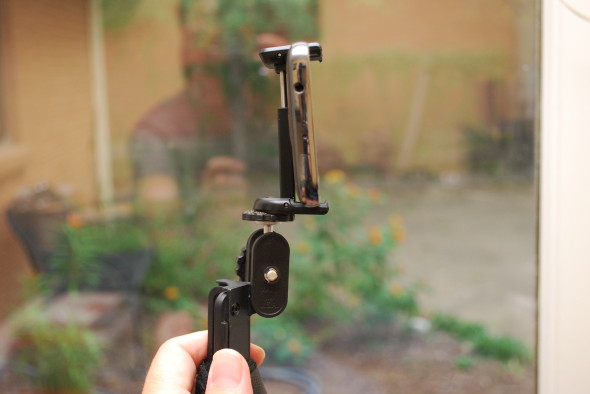
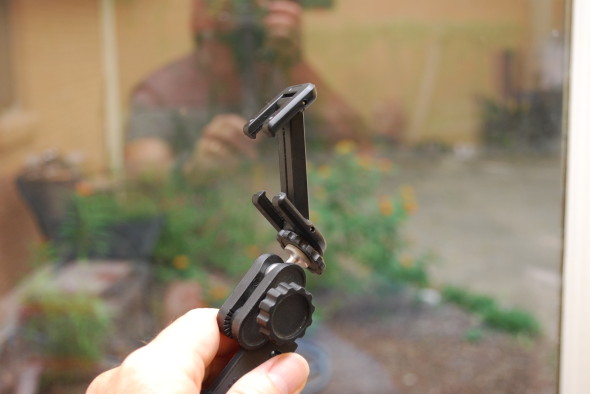
Smartphone Tripod Adapter
When I updated to my current smartphone, my old homemade tripod adapter was no longer an option. Research led me to this nifty little adapter, the Joby JM1-01WW GripTight Mount (Black).
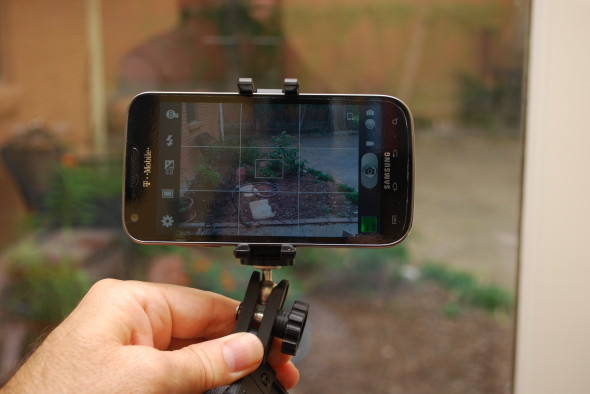
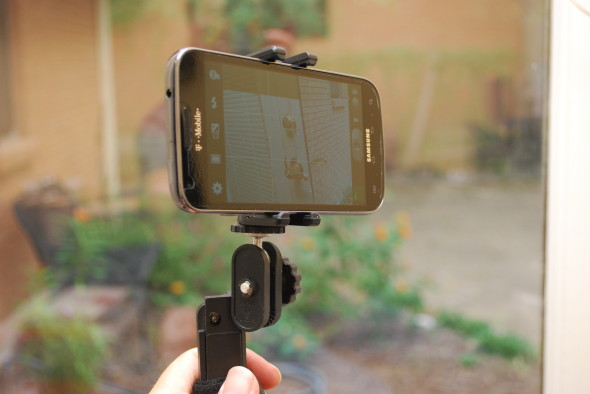
I already own an extremely well-made tripod from REI, so I did not buy the accompanying Joby JM2-01WW GripTight Micro Stand (Black). However, as you can see from the photo below, the stand makes for a compact little package when combined with the mount. These two products are pricey if you buy both of them, but the reality is that they are small enough to slip in a pocket. If you’re like me, a tripod and mount combination that are too large to slip in a pocket are likely to be left at home, and won’t be of any use! At the bottom, I’m posting some images of the mount (that’s all I bought), in combination with my old REI mini-tripod.
Jonathan calls her “Monorail Cat”

Practicing smartphone exposure control
Instagram filter used: Normal
Shot as Instagram exercise, and to experiment with controlling exposure (explained here).
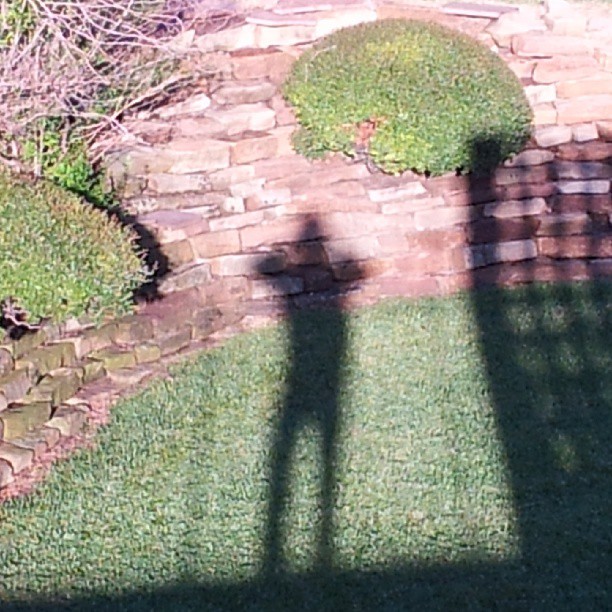
Self-portrait at photoshoot this morning. Near Turtle Creek.
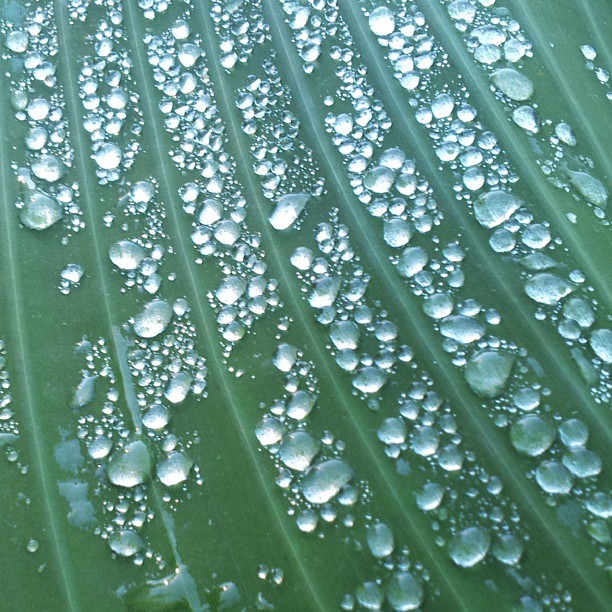
Hydrophobic leaf at Dallas Arboretum
Less Stupid Smartphone Camera
I just got back from vacation in Florida, and eagerly pulled the images off my smartphone (Samsung Galaxy S2). The disappointment of this experience suggests a few fixes:
PROBLEM: LOW RESOLUTION
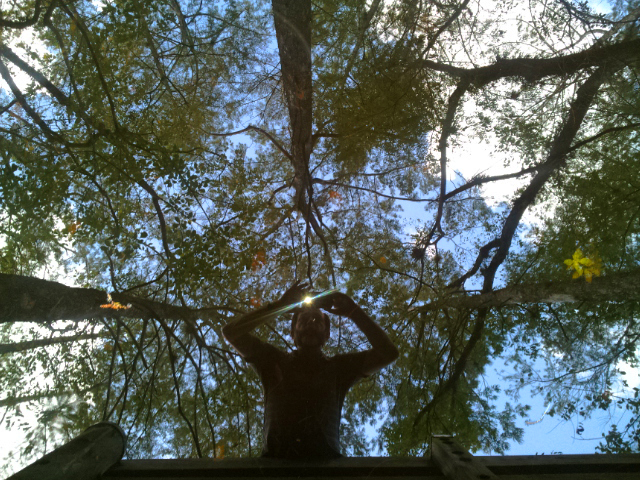
One image in particular held great promise. Walking through the Six-Mile Cypress Slough near Fort Myers, I found this great location where the swamp below was reflecting the trees and sky above. By leaning over the railing, I got myself in the picture. ALAS! My smartphone camera had at some point changed to 640×480 pixels. I always shoot at highest resolution, and really don’t know how this happened!
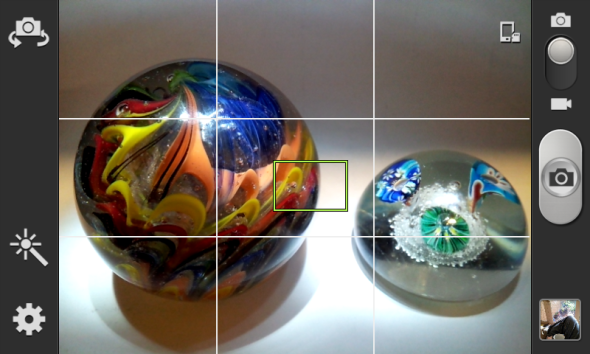
PARTIAL FIX: While I have not found a settings lock on the stock camera on this smartphone, I did discover that I can make better choices about which settings shortcuts show up on the camera (see the original shortcuts in the screen capture below, and then the more helpful shortcuts in the picture below that one). I made one of the settings shortcuts the resolution setting. That way, I at least have a chance of noticing when the resolution is something other than “8M” (8 Megapixels). It took a little research to find out how to actually SAVE these new shortcuts: I had to double click the “Return” button to exit the app; otherwise, the default shortcuts would show up next time I restarted the camera.

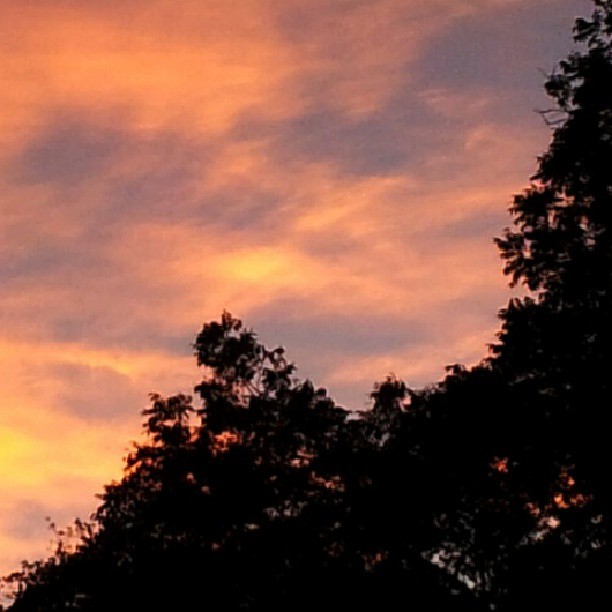
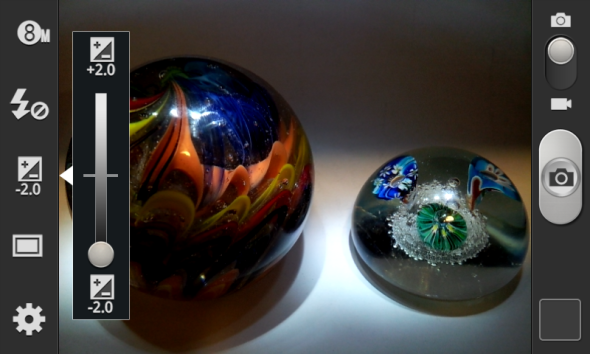
PROBLEM: NO EXPOSURE LOCK
Down at the beach, I wanted to get a sunset shot with nice saturation. With dedicated cameras, I’d generally do that by pointing higher in the sky and locking the exposure and then recomposing the shot (camera “thinks” there is plenty of light since I locked in on the brighter sky above and so it doesn’t open up too much when the shot is recomposed and darker foreground and sunset are in the metered area–which would result in a washed out sunset). Well, I don’t believe this phone camera has exposure lock.
PARTIAL FIX: As illustrated above, I added the Exposure Value compensation setting in the ever-present shortcuts. This way, I have quick access to exposure compensation while I’m composing the photo, and can get a preview of what the shot will look like with compensation.
In the process of looking for better settings for the camera, I have experimented with some alternate camera apps, and may review those later.
Catnip Tea?

Architecture Gone Bad

When the First Church of Christ, Scientist on Cadiz Street opened in 1912, a local paper called it “…one of the most handsome houses of worship in the city and one of the most modern, which will add much to Dallas’s prestige.” Designed in the neo-Classical Revival style by Dallas architectural firm Hubbell and Greene, this building served the Dallas Christian Scientist community for many decades. But by the end of the century, the congregation had dwindled down to one elderly–and eccentric–couple. In 1999, developer Herschel Alan Weisfeld bought the property from the couple. Weisfeld specializes in renovating and re-purposing old, dilapidated properties. This building, under Weisfeld’s enthusiastic direction, would be made-over as the Sara Ellen & Samuel Weisfeld Center, a special events center. Click on the image to enlarge it. Notice how fittingly the new name was carved into the building’s facade.
Unfortunately, the building’s location, on the south end of downtown Dallas, was less than ideal. Patrons emerged from events to find their parked cars had been vandalized. The Event Center became un-eventful, and un-profitable. Apparently–I haven’t verified this–Weisfeld leased the building to the Temple of Prayer.
That is when the Sara Ellen & Samuel Weisfeld Center was disgraced by the new tenants. They painted the letters “TOP” over the bricks near the TOP of the facade. It’s both funny and sad.
But that’s not the end of the story. One day after I took the above photograph, I went to photograph the building from another angle. Already, “TOP” had been painted over and large plastic letters were being installed by the newest tenant or owner. This once majestic building is now the “Eagle’s Nest Cathedral.” Look out below!

Tripod mount for smartphone
One of the most seasoned linguists in South America told me how he pared his “packing list” down to TWO ESSENTIALS:
- A trusty Indian guide
- A machete
I don’t know if the machete had anything to do with the guide’s trustworthiness….
As I grow old (feeble) my backpacking kit must get lighter. On a recent mountain climb, I replaced four items with the closest I could get to a trusty Indian guide: my smartphone. It would serve as:
- emergency phone (line-of-sight to cell towers is often available from trailheads and mountain summits)
- GPS unit/compass
- topo maps (Gaia GPS and pre-loaded topo maps work even without cell phone towers)
- CAMERA
I needed a way to pair my super-light REI tripod with the smartphone. If you Google “tripod mount for smartphone” you’ll get lots of clever ideas. As for my solution….
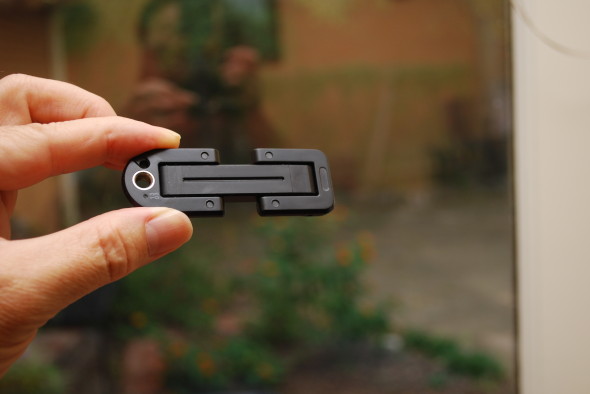
The Body Glove Snap-On Case for my smart phone (Samsung Vibrant™ Android Smartphone
) has a an optional belt clip and “kick stand” connection in the middle of the back. I usually go without that connector, and substitute the smooth replacement insert. To accept the standard 1/4-20 tripod mounting screw, I used a grinder to reduce the outside diameter of a 1/4-20 nut and pressed/glued that into the Body Glove’s connector insert (I’m sure one could find a bushing that would fit, and not have to do the tedious grinding!). I think the photos below will clarify.


Haze, a Photographer’s Friend or Enemy?
My recent annual 14er climb was disappointing in one regard: haze prevented the grand vistas I so enjoy from high elevations. Before summiting, we camped in an ideal location for surveying the twinkling lights in the sprawling San Luis Valley. But that night, we could see little more than a general glow through the haze.
It was not until we viewed photos after the trip that I was reminded of one benefit of haze: interesting photos. Darol snapped the one below as I crossed over from a sub-peak to the summit of Ellingwood Point (14,042). Thanks in part to the haze, another 14er, Mount Lindsey, looms behind me without drawing attention to its own rocky detail.

Perhaps Darol has learned a few things from his wife, photographer extraordinaire, Debbie Klawetter. But chances are, he wasn’t thinking much better than I was at that elevation!
Have you ever been surprised by a good photo in what you thought were bad conditions? Reply below and tell us about it.