Less Stupid Smartphone Camera

I just got back from vacation in Florida, and eagerly pulled the images off my smartphone (Samsung Galaxy S2). The disappointment of this experience suggests a few fixes:

PROBLEM: LOW RESOLUTION
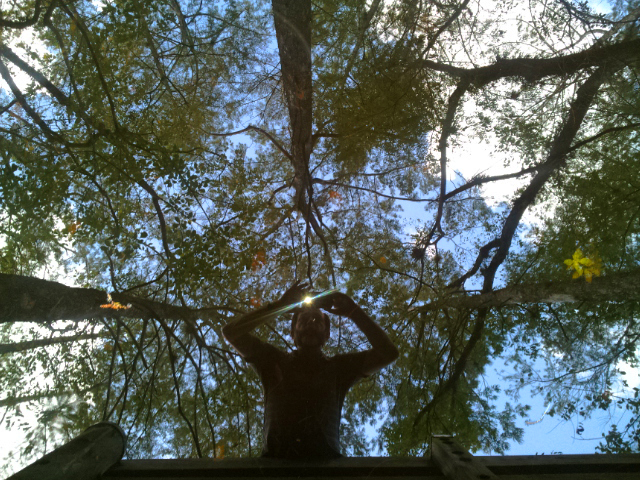
One image in particular held great promise. Walking through the Six-Mile Cypress Slough near Fort Myers, I found this great location where the swamp below was reflecting the trees and sky above. By leaning over the railing, I got myself in the picture. ALAS! My smartphone camera had at some point changed to 640×480 pixels. I always shoot at highest resolution, and really don’t know how this happened!

Brad Hepp self-portrait in Six Mile Cypress Slough
Unfortunately LOW resolution on this self-portrait. Saturation has been boosted slightly in Photoshop. At this resolution, sharpening in Photoshop would only make things worse.

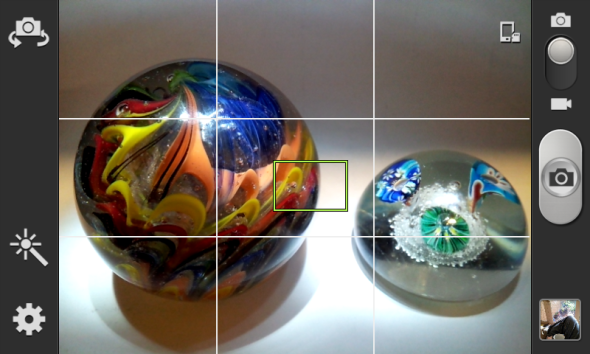
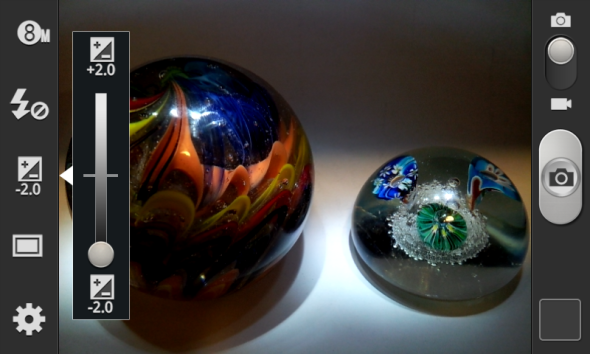
PARTIAL FIX: While I have not found a settings lock on the stock camera on this smartphone, I did discover that I can make better choices about which settings shortcuts show up on the camera (see the original shortcuts in the screen capture below, and then the more helpful shortcuts in the picture below that one).  I made one of the settings shortcuts the resolution setting. That way, I at least have a chance of noticing when the resolution is something other than “8M” (8 Megapixels). It took a little research to find out how to actually SAVE these new shortcuts: I had to double click the “Return” button to exit the app; otherwise, the default shortcuts would show up next time I restarted the camera.

I believe these were the default shortcuts: top left is a shortcut to switch from front-facing to rear-facing camera (not something I generally use!); the wand icon is for special effects like negatives and sepia tone (these are things I'd generally do in Photoshop!).
I believe these were the default shortcuts: top left is a shortcut to switch from front-facing to rear-facing camera (not something I generally use!); the wand icon is for special effects like negatives and sepia tone (these are things I’d generally do in Photoshop!).
By editing the shortcuts, I was able to place a shortcut for resolution (top left). I rarely have any desire to change resolution, but at least this visual indicator will be there and I'll hopefully notice if the resolution ever gets inadvertently lowered. The second icon is for flash, which is something I like to interact with regularly. The third icon is for exposure value compensation (see how this is useful in the next section). The final icon is for "Shooting mode." This is one I may replace later. For now, it is helpful when I want to quickly switch to panorama mode.
By editing the shortcuts, I was able to place a shortcut for resolution (top left). I rarely have any desire to change resolution, but at least this visual indicator will be there and I’ll hopefully notice if the resolution ever gets inadvertently lowered. The second icon is for flash, which is something I like to interact with regularly. The third icon is for exposure value compensation (see how this is useful in the next section). The final icon is for “Shooting mode.” This is one I may replace later. For now, it is helpful when I want to quickly switch to panorama mode.

PROBLEM: NO EXPOSURE LOCK
Down at the beach, I wanted to get a sunset shot with nice saturation. With dedicated cameras, I’d generally do that by pointing higher in the sky and locking the exposure and then recomposing the shot (camera “thinks” there is plenty of light since I locked in on the brighter sky above and so it doesn’t open up too much when the shot is recomposed and darker foreground and sunset are in the metered area–which would result in a washed out sunset). Well, I don’t believe this phone camera has exposure lock.

PARTIAL FIX: As illustrated above, I added the Exposure Value compensation setting in the ever-present shortcuts. This way, I have quick access to exposure compensation while I’m composing the photo, and can get a preview of what the shot will look like with compensation.

By putting the EV Compensation setting in the shortcuts, I have quick access to that adjustment, which somewhat makes up for the lack of an exposure lock.

In the process of looking for better settings for the camera, I have experimented with some alternate camera apps, and may review those later.

SUBSCRIBE HERE to receive my latest posts and commentary by email.

Leave a comment

Your email address will not be published. Required fields are marked *

Share This